Frequently Asked Question
How can I add to Links?
Last Updated 2 years ago
Step 1: Click Links from the course homepage
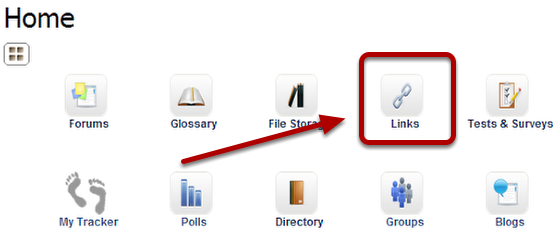
Your course may not display the Links icon, and it may be in the tabs at the top of the page.
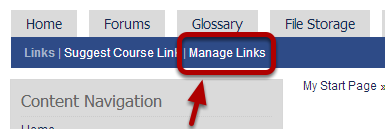
Step 2: Click Manage Links
Step 3: Click Create a Category

On the Create Category page, enter the Title for the new category. If you choose, you can create a sub-category by selecting a Parent Category in the drop-down menu. Note: you do not need to create a new category if you want to use one that already exists. In this case, skip to Step 4.
Step 4: Add Link
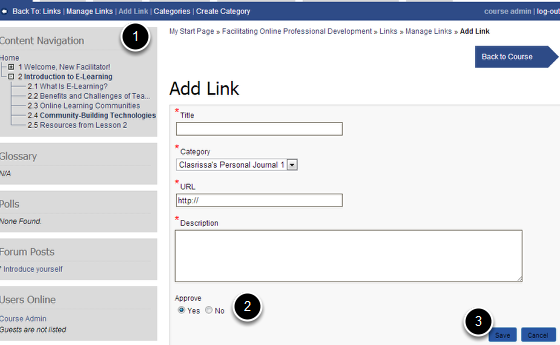
Click Add Link (1) from the sub-menu to go to the Add Link page. On the Add Link page, add a Title, Category, URL and Description for the link. To approve the link so participants can see it, make sure the Approve button (2) is selected. Click Save (3) to finish adding the link. Every field marked with * is required.